

Some people will try to convince you that you need to spend £1000s to capture killer vocals, but this couldn’t be further from the truth. Yes, having £25,000 worth of microphones, preamps, EQs and compressors, all in a perfectly acoustically treated space, is a nice thing, but it is in no way a necessity in the modern age of recording. Create your own space, learn to use the microphone you have, give a great performance, and have a whole lot of patience to make it all work together.
Control Your Room
The space you record in can have such a large influence on your final sound. So before setting up a single mic, just stand in the middle of the room and sing a few lines. Pay attention to any issues you can hear. Hard surfaces, such as walls, ceilings, floors, and windows, create unwanted reflections, and these reflections can lead to vocals that are boxy, weak, or ‘splashy’.
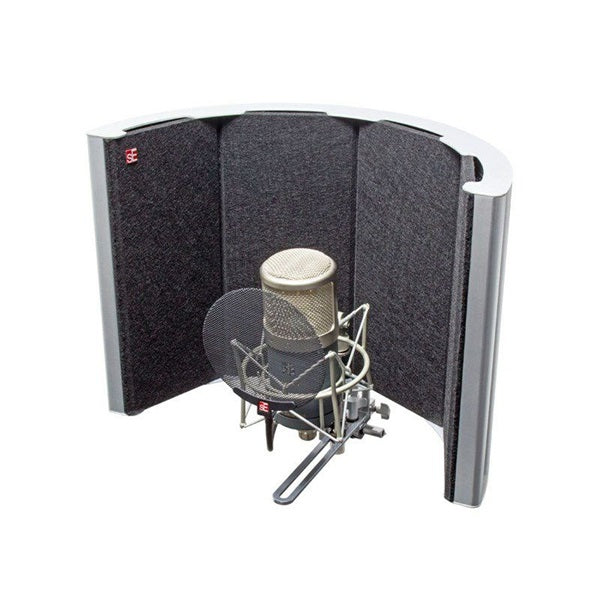
While a purpose-built vocal booth is nice, it isn’t necessary, and you can get a lot of good done with furnishings that absorb, such as rugs, curtains, and other soft furnishings, and those that diffuse these reflections, such as a bookcase full of books.
Microphone ‘Filters’ and Screens have become more popular over the last 10 years, with some seeing them as a fix, while others can’t stand them at all. These can definitely be an option worth trying.
Using soft furnishings, blankets, etc to make the room smaller can really help, but don’t go too small, as this can add problems of its own.
Remember, we aren’t looking for dead, we are looking for controlled.
For more on this check out Taking The Room Out Of The Room
Pick the Right Tool for the Job
When it comes to picking a microphone, I like to remember the saying ‘Horses for Courses’; what may work for one may not work for another. And this couldn’t be truer when it comes to pairing the right microphone with a singer. There is no universal microphone; one microphone could make a singer sound absolutely amazing, but make another sound shrill and tough to listen to, and vice versa.
Try to pair the singer with a microphone that has the opposite characteristic. Got a really bright singer? Give them a smoother-sounding microphone. Got a dark singer? Throw that bright microphone on a stand for them.
If you have multiple microphones at hand, then try them out; the above ‘rule’ doesn’t always factor in. Record a little section with each mic and take a listen, and see how they sound. If you can, listen to the recorded section in the context of the track as a whole. Sometimes a part might sound subpar soloed, but in context of the track works exactly as it should. This can be where the magic, or lack of it, shows itself.
Keep Your Distance
As a starting point, I also love to start a singer about 6-8” from the microphone capsule, with a pop filter about halfway between. From there it’s time to experiment. Record a little phrase, and then try a little closer, or a little further away. Moving closer to the microphone will give you more warmth and low-end via the proximity effect, as well as making the vocal feel more intimate. Whereas moving further away produces a more open sound, with less low-end buildup.
A sign of a really good vocalist can be using distance as part of their performance. They ‘work’ the microphone throughout the performance, and learn when to back off the microphone, and when to get in closer. This also has an added benefit of helping a singer control their volume, knowing to back off when they’re about to belt, for example.
Subtly is key when it comes to this, as you don’t want massive swings in the sound of the vocal, but any good singer will know that, put your faith in their ability to do so.
Vocals: Best Served Luke Warm
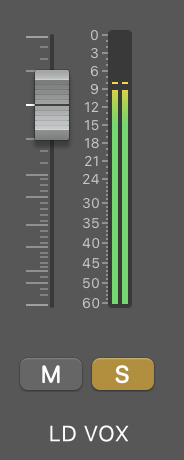
When it comes to a target level for vocals, everyone has an opinion, or a theory, that is often completely different, but there is one thing we all agree on… You don’t need to record as hot as you possibly can. No one wants a vocal peaking at 0dBFs, and we definitely don’t want it higher.
I personally like to record a vocal peaking somewhere around the -10 to -6dB range, but I know some people who prefer somewhere between -15 to -12dB. Don’t go too quiet, however, as trying to turn up a super quiet vocal can introduce its own problem in the form of noise.
Leave headroom, so that if the singer has room to get louder without it being a big issue, and that headroom will also give either the mixer or yourself more room to work in the next stage.
You can always make a quiet vocal louder, but you can’t truly un-clip a vocal that hits 0dB.
It’s All in Your Head(Phones)
While it may seem like an afterthought to most, a headphone mix can make or break a vocal performance. You have to give the vocalist enough of the track to be able to hear cues in both timing and tuning, while not burying their own voice in their head.
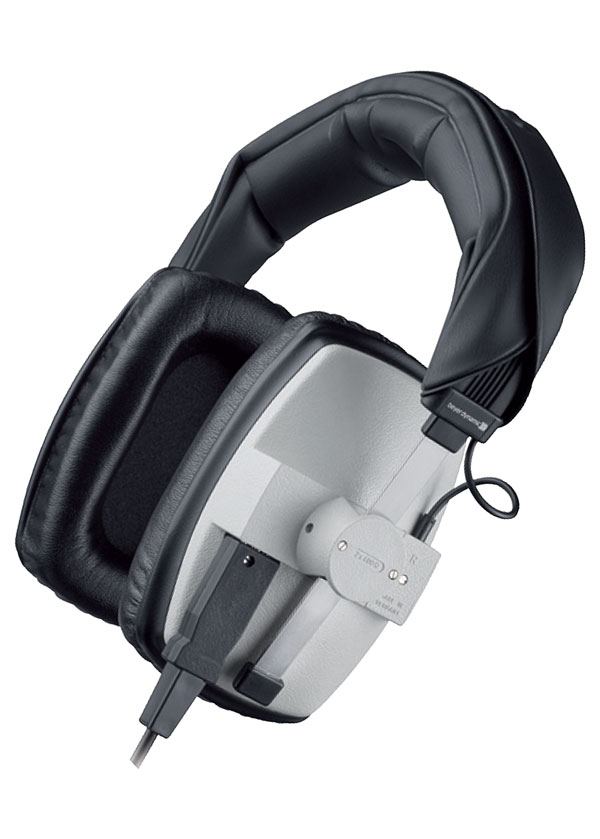
Some vocalists like to wear headphones with one fully on, and the other either completely or partially off, so that they can hear the track and their vocal through the headphones, but also their own performance in the room. This can particularly help with tuning issues.
Many singers also like to hear some little comfort effects in their headphones while performing, such as a little reverb and/or delay. This doesn’t need to be printed on the track, but it is just a way to make it feel like a performance, or inspire the singer. Ask the singer what they want, and if they aren’t sure, then experiment; take that extra 5-10 minutes to work out what you can give the singer, for them to give their absolute best.
At the end of the day, a technically gifted singer isn’t very useful if their comfort level is throwing off their performance.
Performance, Performance, Performance
Repeat after me… nothing beats a great performance.
You can fix timing, you can fix tuning, you can fix frequency problems, you can fix a whole host of issues, but you aren’t ever going to fix a bland performance.
If you record a vocal track and it sounds a bit lifeless and lacking emotion, go again. There shouldn’t be a limit to how many tracks you are willing to record. That said, you can’t flog something back to life, and there is always a point where it makes more sense to call it a day and come back again later if you can.
At the end of the day, performance, emotion and life are more important than technical perfection; you can clean up the ‘rough around the edges’ parts.
Don’t, however, edit out the humanity of the piece; the lack of precision is often what makes a vocal more believable.
Record More Than One Take
In a world with bigger and better storage space on computers, what harm does it do to not just capture one good vocal take, but many? Not all vocalists (even the pros) capture their best performances in a start-to-finish way, and one take might have a killer first chorus, but an underwhelming verse 2. With multiple takes, you can play around with Comping, which is essentially turning multiple takes into one ‘master’ take, with the best of all worlds.
What this also means is that a single mistake in an otherwise amazing vocal take doesn’t ruin the whole take. As well as comping, multiple takes allow us to be able to layer vocals, to make a vocal feel stronger either as a whole, or in specific sections.
I shan’t go too deeply into comping and layering, as both of those aren’t particular to the ‘recording’ stage, and will be covered in their own articles coming soon.
The Singer Is the Main Character
While it may sound like a cliché to treat vocalists like divas, it can actually help with the performance as a whole. Do what you can to make them feel comfortable, make them feel like they’ve got your full concentration. This all causes them to relax; it makes them smile, it makes them settle in, and that is when the performances start to flow. Ask them what they need. Do they want some lights dimmed (Check Out Creating a Vibe In The Studio), do they need water, do they need an extra 5 minutes of warming up? Give them that, and you start to build trust; that can translate into your track.
And there we have it: I won’t say any more than go out there, hit record, and capture some killer vocal performances.
